


▽ +09.00Waterproofing · Wet areas
Wet-area waterproofing
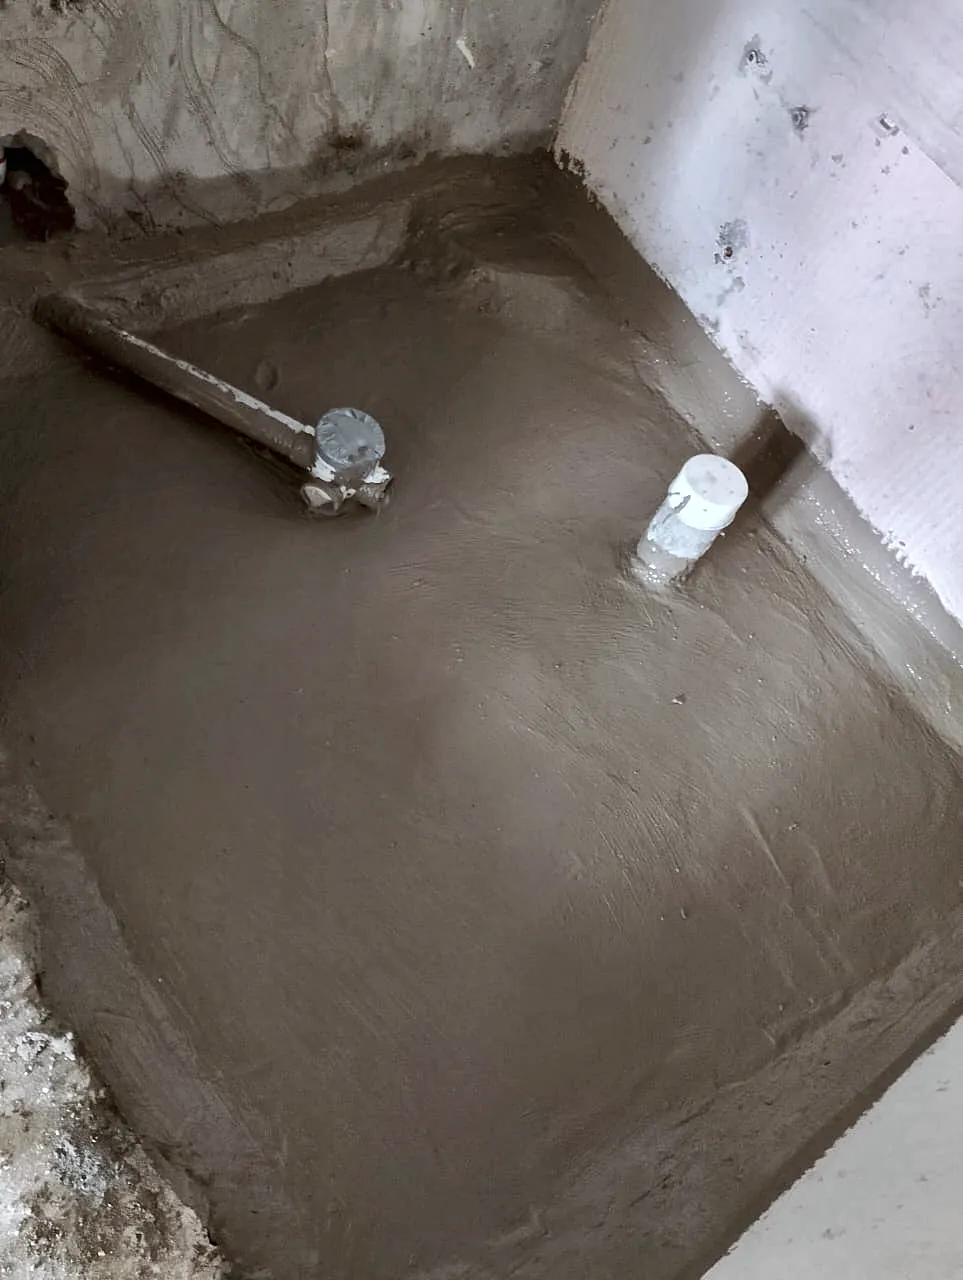
Small areas, many details: corners, floor drains, pipes and door thresholds. Flood-tested before the tiles go on.

Engineering view
What is wet-area waterproofing?
A bathroom leak rarely shows in the bathroom itself — it appears on the ceiling below or at the foot of the next wall. The cause is usually a small detail: an unreinforced corner, a floor drain not bonded to the waterproofing, or a membrane not turned up the wall.
So wet-area waterproofing is a continuous layer over the floor, up the walls and across the whole shower zone, flood-tested before tiling — because fixing it after the finishes means breaking out the tiles.
69%
of portfolio projects include wet areas
Prequalification 2026 — prevalence of systems across portfolio projects (percentages overlap)
Problems it solves
What goes wrong
A leak to the floor below
Water under the tiles finds a gap and shows on the ceiling below.
Leaks around drains and pipes
The drain body and pipe sleeves are not bonded to the membrane.
Damp wall bases
The waterproofing was not turned up the walls, so the plaster soaks up water.
Diagnose by symptom
From the system’s documented advantages
Key benefits
Seamless and fully bonded, so water cannot travel beneath it
Very good at details and penetrations
Flexible; bridges hairline cracks
Light, flame-free and easy to repair locally
Documented advantages of Liquid polyurethane waterproofing — every system also has limits, listed on its page.
Applications
Where it applies
- W.01
Bathrooms
Floor, shower zone and wall bases, with drains and pipes.
- W.02
Kitchens
Residential and commercial kitchen floors and wash-down areas.
- W.03
Laundries
Floors under constant water, with floor drains.
- W.04
Mechanical rooms
Pump and plant rooms above occupied spaces.
- W.05
Service areas
Service corridors, cleaning areas and drains.
Building condition
New or existing
New building
New project: the waterproofing goes on after the pipes and drains and before the tiles, turned up the walls, then a flood test and a signed hand-over to the next trade.
Existing building
Existing bathroom: first establish whether the leak is the waterproofing or the pipework itself, then redo the waterproofing fully under new tiles — local patches rarely last in wet areas.
By technology
Available systems
- Liquid-applied & liningsLiquid polyurethane waterproofingA liquid membrane that cures into a continuous, seamless rubbery layer, strong at details and penetrations.
- Cementitious & crystallineCementitious waterproofingPolymer-modified cementitious coats that bond to concrete, for basements, tanks, pools and wet areas.
- FlooringMicrocementThin, hand-trowelled cementitious coats for floors and walls, with a seamless look.


How the system is chosen
| Situation | Suitable systems | Why |
|---|---|---|
| Bathrooms and kitchens under tiles | Cementitious Liquid PU | A continuous flexible layer that tile adhesive bonds to. |
| A seamless finish instead of tiles | Microcement | A finish over the waterproofing, not a replacement for it. |
A starting point only: the final system follows the inspection, the approved specification and the product TDS.
Layers
System build-up
System build-up3 layers
Liquid polyurethane waterproofing
Select a layer to see what it does.
Liquid PU membraneCore layer
Applied in two or more coats to the specified thickness, reinforced with fabric at corners and details.
Primer
Improves the bond and seals the pores; its type depends on the substrate and its moisture.
Concrete substrate
Sound, dry and clean, laid to falls, with cracks treated.
A typical build-up for this application, top to bottom. Under tiles there is no UV-resistant top coat: it is added only where the membrane stays exposed and the product requires it.
System page: how it works and its limitsBrand-neutral
Manufacturers & approvals
- Fosroc (Saint-Gobain)Approved applicatorCertificate
- AwazelApproved applicatorCertificate
- AIM IndustriesApproved applicator · Sister companyCertificate
- IzomaksApproved applicatorCertificate
We start from the engineering of the system, then the product. Manufacturers appear here only with their documented relationship; this does not imply a commercial partnership.
Before work starts
Surface preparation
- Pipes, drain sleeves and floor drains fixed in their final positions.
- Floor falls towards the drain formed before waterproofing.
- Corners, drains and pipes reinforced with tape or fabric.
- A clean, sound substrate with moisture suited to the system.
Sequence
Installation process
Details
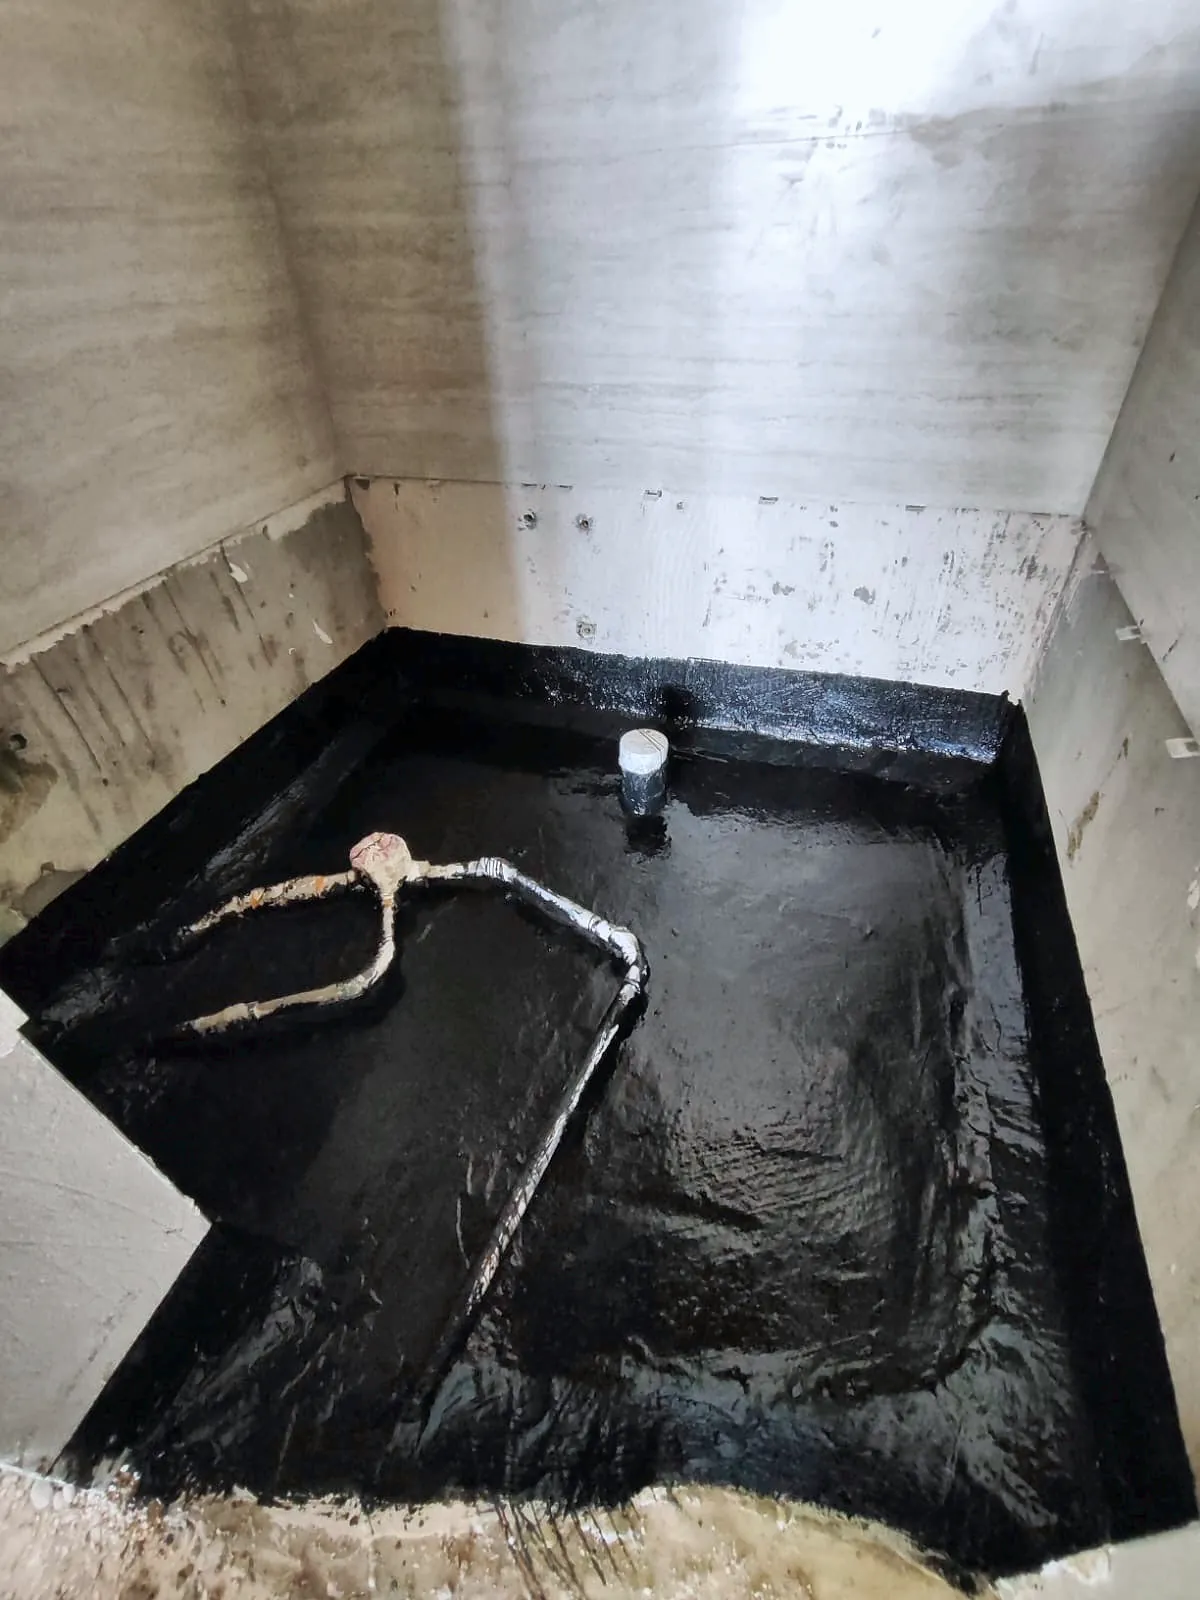
Corners, drains, pipes and thresholds first.
First and second coats
Applied crosswise, up the walls and across the shower zone.
Flood test
Water held for the specified time; the ceiling below checked.
Hand over to tiling
With a record so later trades do not puncture it.
Inspection & testing
QA/QC
- Details inspected and photographed before the main coats.
- Thickness or coverage checked against the TDS.
- A flood test for every wet area, recorded in the quality file.
What we avoid
Common failures
Floor only
Not turned up the walls or across the shower zone.
Drain not bonded
Water tracks around the drain body under the tiles.
Punctured later
Pipes or fittings fixed after the waterproofing without re-detailing.
Tiles before the flood test
The defect shows after occupation, on the ceiling below.
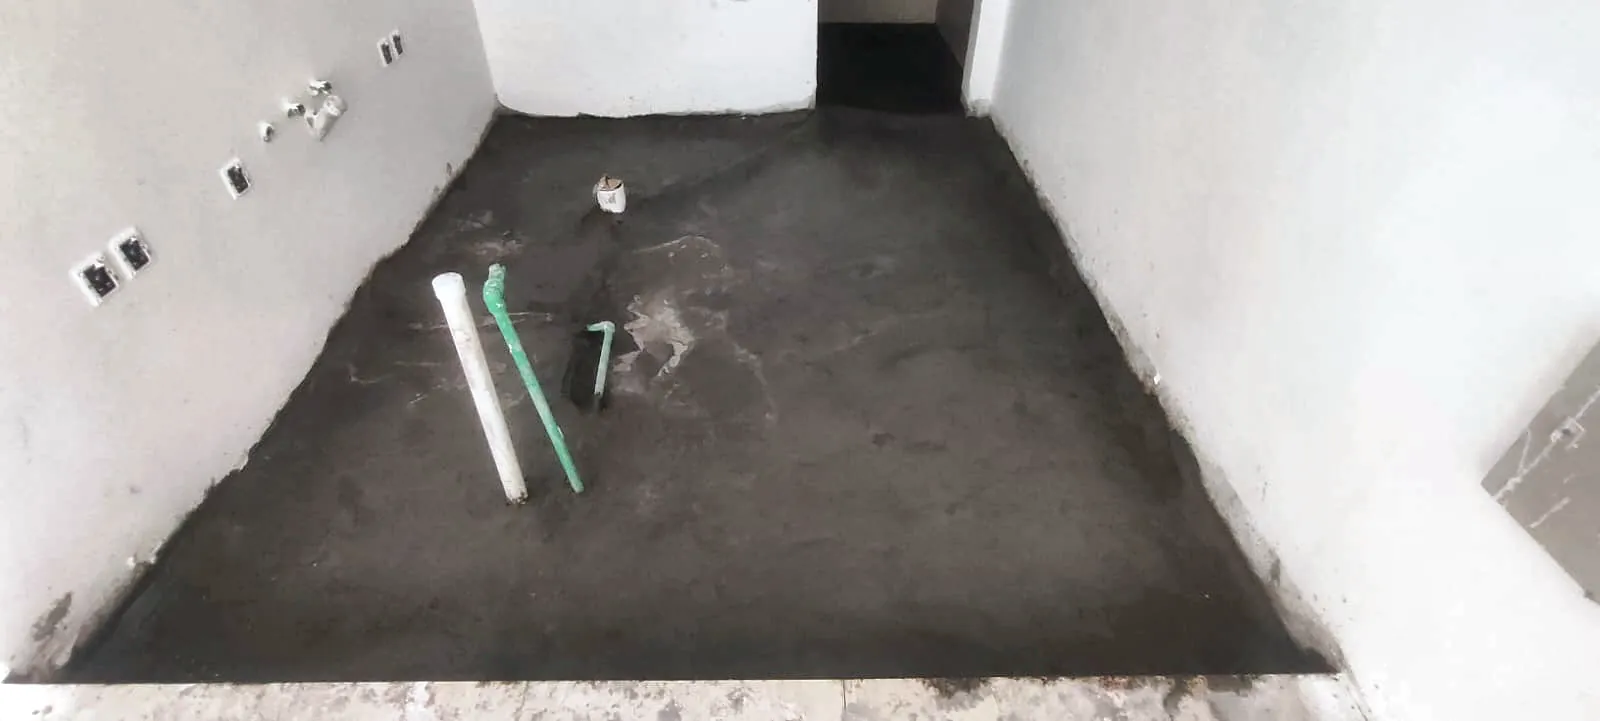
Real photos from our projects
On site

Executed references
From our projects
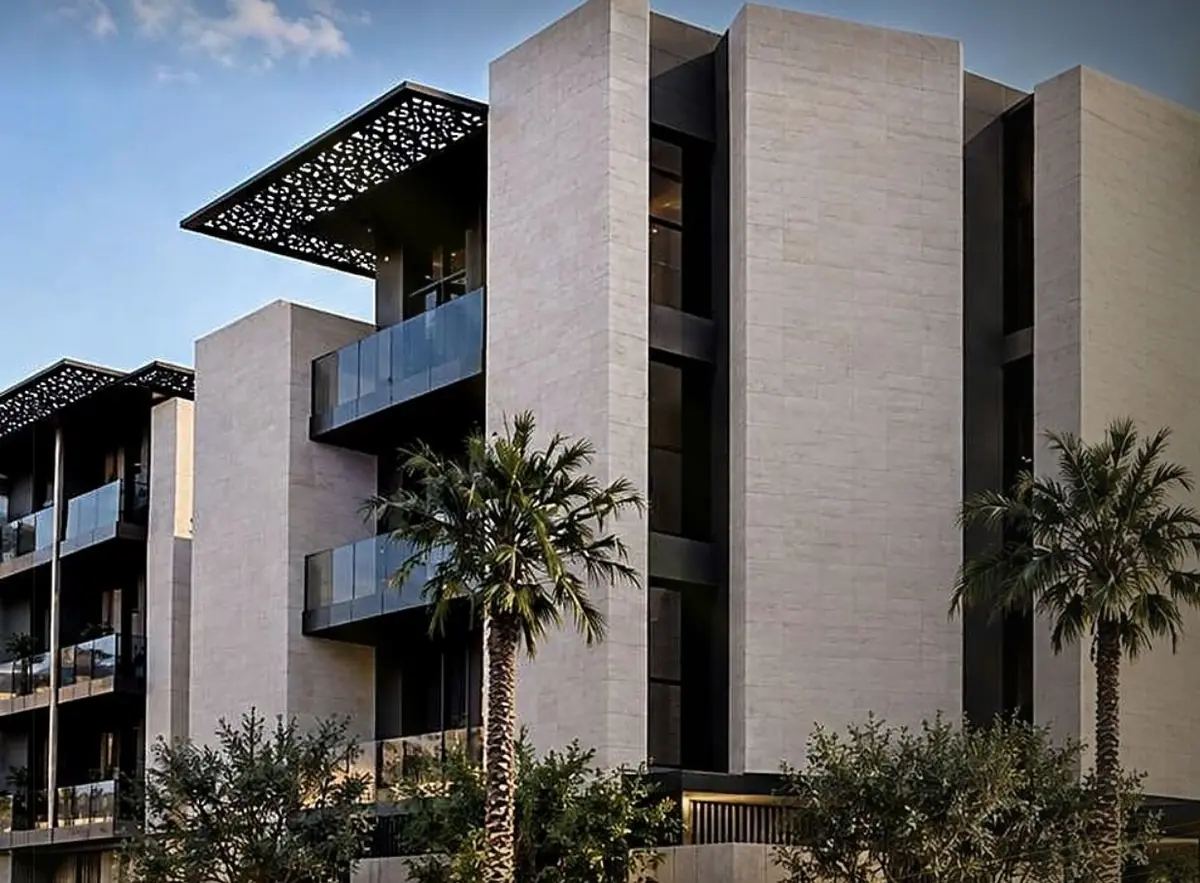 Residential development
Dyari Signature
Al-Munsiyah, Riyadh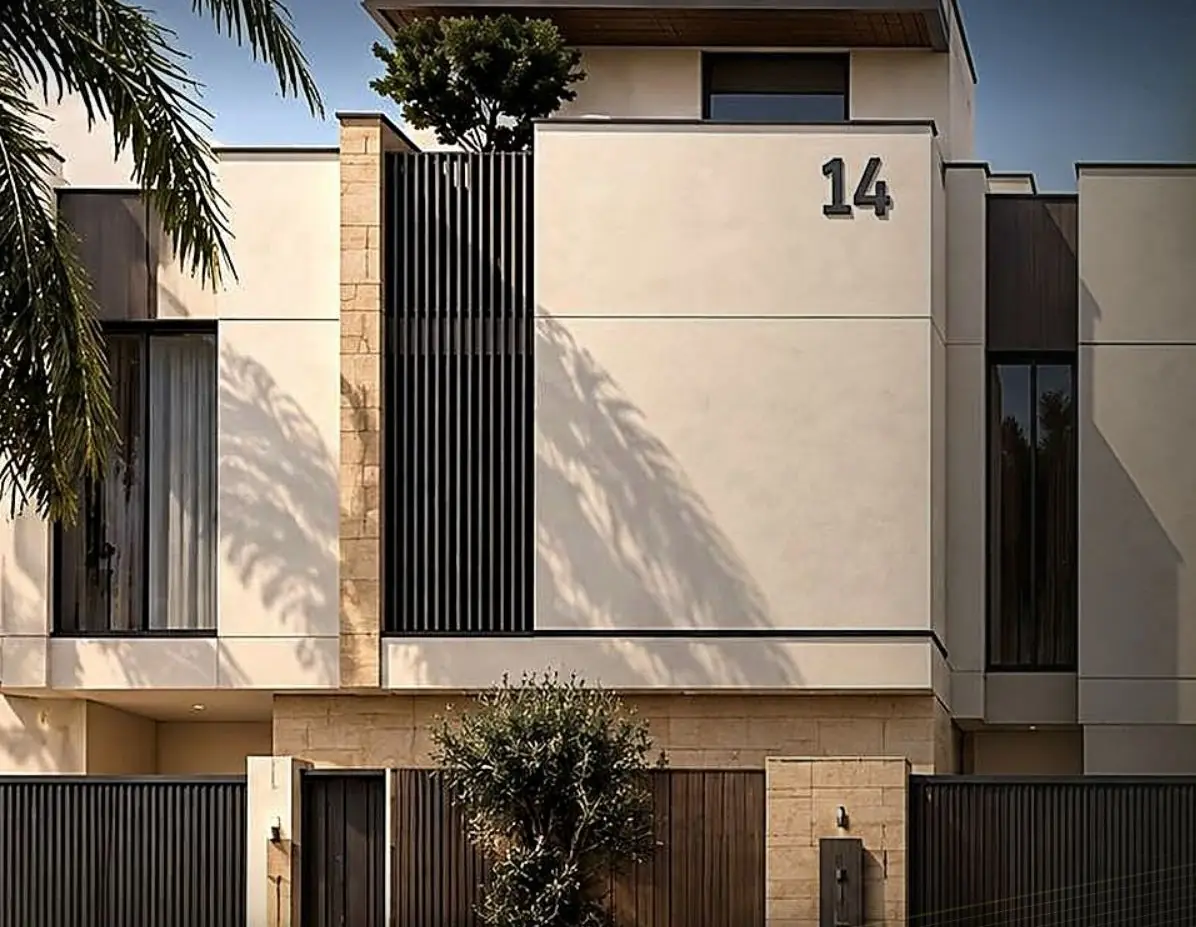
Al-Safa Hills
Al-Safa, Riyadh
Masheed projects
Riyadh Region
RESI residential projects
Al-Narjis, Al-Rabi, Al-Taawun, Hittin, Riyadh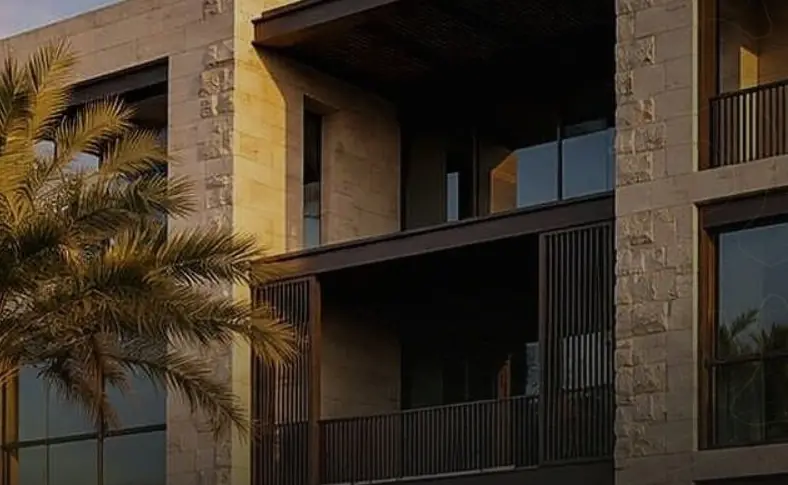
Balance projects
Seven districts of Riyadh
Al-Oraifi Mall
Riyadh


Go deeper
Technical references
Before you ask
Questions
Why does a bathroom leak show on the ceiling below?
Because water runs under the tiles until it finds a gap in the waterproofing — usually around the drain, at corners or pipe penetrations — and then drops to the ceiling. That is why bathroom waterproofing is flood-tested before tiling.
How is a bathroom waterproofed before tiling?
The floor is prepared and levelled, the corners get a band or fillet and the drains and pipes suitable collars, then two coats of flexible cementitious or polyurethane waterproofing go on the floor and up the walls — higher in the shower zone — and the area is flood-tested before tiling.
Can a bathroom be waterproofed without removing the tiles?
If the water gets in through the grout or around the drain and pipes, a local repair may be enough — regrouting and sealing the penetrations, or a clear coating where its data sheet allows wet areas. If the waterproofing under the tiles has failed, the area has to be opened and waterproofed again.
Does a kitchen need waterproofing?
Yes, in kitchens, laundries and service rooms with floor drains or washed floors — especially on upper floors: the floor is waterproofed, with an upstand on the walls and collars at the pipes, before tiling.
How long is a bathroom flood test?
For the period the specification or the consultant sets. The drain is plugged and the room filled to a marked level, the ceiling below is checked, and the level is recorded at the start and the end before tiling is approved.
Next step
A bathroom leaking into the floor below?
Send photos of the stains and where they are so we can trace the source, or request a quote to waterproof wet areas before tiling.