


▽ +09.00Flooring
Microcement
Thin, hand-trowelled cementitious coats for floors and walls, with a seamless look.
What it is and how it works
Microcement is thin coats of polymer-modified cement mortar, trowelled onto floors and walls to form a continuous, joint-free surface with a fine concrete look.
It goes over a primer, with a reinforcing mesh where needed, in base coats then fine finish coats, and is sealed with protective sealers that set its stain and water resistance. In wet areas it goes over a waterproofing system.
- Family
- Flooring
- Used in
- Wet-area waterproofing
- Build-up
- 5 layers
Where it fits — and where it does not
A good fit for
- Interior floors and walls
- Bathrooms and showers, over waterproofing
- Renovation over existing tiles after assessment
- Stairs and feature surfaces
Not a fit, or needs a check
- Heavy industrial traffic
- Moving substrates or unstable tiles
- Structural cracks not treated beforehand
Application pages
Advantages and limitations
Every system has strengths and limits; the right choice starts from the site conditions.
Advantages
- A seamless, contemporary finish
- A thin build that suits renovation
- Floors and walls in one finish
Limitations
- Hand-crafted: the look varies and needs a mock-up
- The sealer needs maintenance
- Sensitive to cracks in the substrate
System build-up
Top to bottom. Final thicknesses and materials follow the approved specification and the product TDS.
System build-up5 layers
Microcement
Select a layer to see what it does.
Protective sealer
Protects against stains and water and sets the sheen.
Fine microcement coatsCore layer
Thin coats trowelled and burnished by hand to give the final look.
Base coats
With reinforcing mesh where the substrate calls for it.
Primer
Chosen for the substrate: concrete, tiles or render.
Substrate
Stable, dry and flat; in wet areas the substrate is waterproofed first.
Preparation and application
Surface preparation
- A stable, clean, sound substrate
- Tiles checked for hollowness; joints filled
- Waterproofing first in wet areas
- A mock-up approved for colour and texture
Application sequence
Primer
Suited to the substrate.
Base coats
With mesh where specified.
Finish coats
Fine trowelled coats, sanded between coats.
Sealer
A penetrating sealer, then top sealers.
Curing
Protected until fully cured.
General educational content; final values and requirements follow the manufacturer’s TDS and the approved project specification.
Checks and common mistakes
Quality checks
- Mock-up approval
- Substrate soundness check
- An even finish, no trowel marks beyond the agreed texture
- Sealer coverage
Common mistakes
- Applying over hollow tiles
- Skipping waterproofing in showers
- Too few sealer coats
- No mock-up
Common questions
Can microcement go over existing tiles?
Often yes, if the tiles are sound and well bonded, with a suitable primer and mesh.
Is microcement waterproof?
The sealer makes it water-resistant; in wet areas a waterproofing system goes underneath.
What is the difference between microcement and epoxy?
Microcement is a thin cementitious layer with a natural, stone-like look for floors and walls; epoxy is a continuous resin coating that resists chemicals and heavy wear better. The choice follows the use and the look you want.
Can microcement be used on walls, stairs and kitchens?
Usually yes, over a stable, prepared substrate, with a sealer suited to water and oil; a sample is approved before the works.
How is a microcement floor looked after?
With gentle cleaning using neutral cleaners, and a renewed sealer when needed, per the manufacturer’s recommendations.
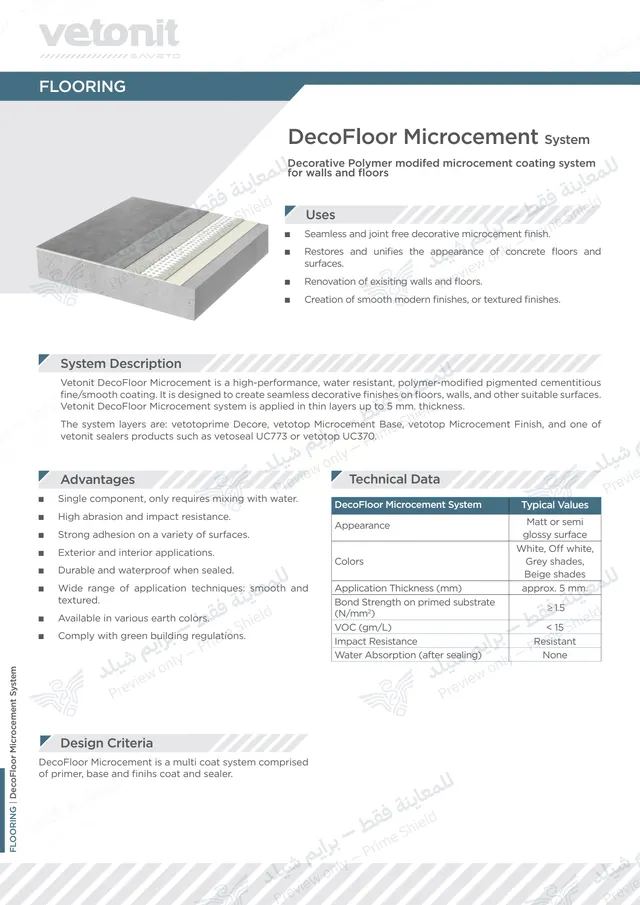
Technical data for this system
Next step
Considering this system for your project?
Send drawings or site photos; our engineers review the case and propose the right specification.